

The nose cone was fitted for the first time. You can see in the image below how the Switchblade flying sports car will look from the front. Definitely eye catching! The one thing we can say is that if you want a Switchblade, be prepared to be the center of attention! The nose cone was given a trial fit, and then removed to add stiffeners and removable fasteners prior to final install. We will have removable fasteners on the first version, as we may need to have access to the front wheel area during flight testing, and having these kind of fasteners will help with that. The final version will have the nose bonded in place, and then the whole body painted.
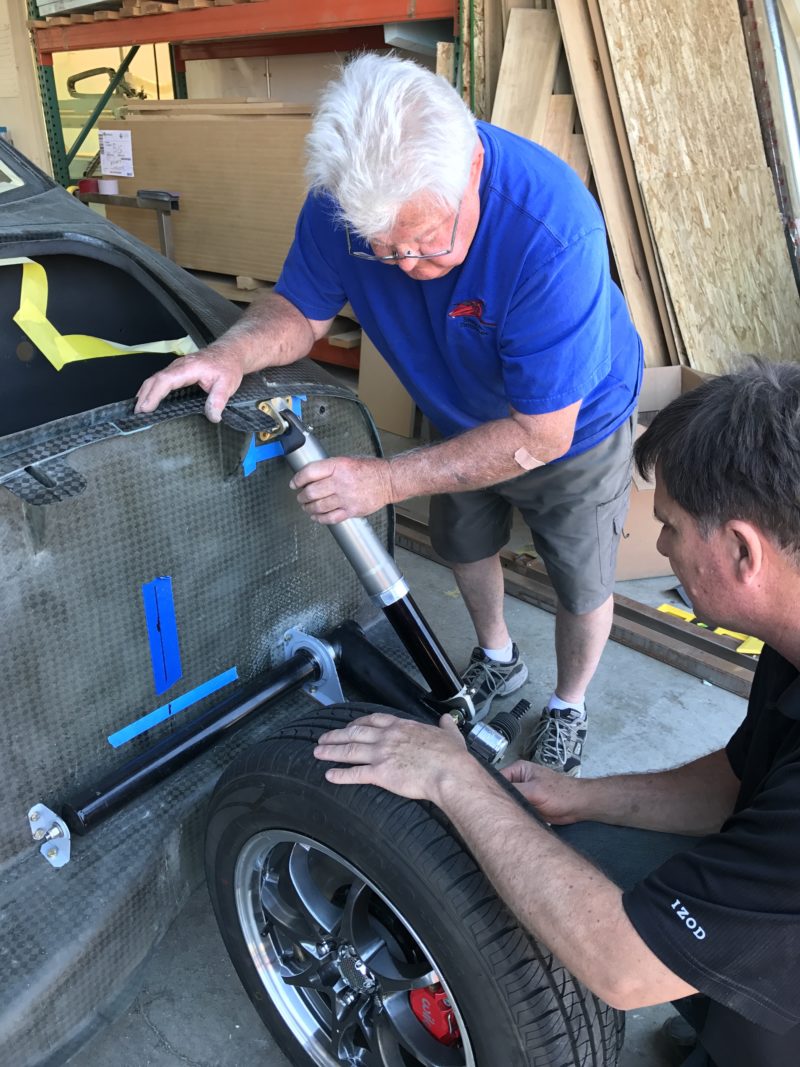
The body was moved to Composite Approach in Redmond, Oregon, so we could increase the man-hours prior to AirVenture. Samson kept working at Composite Approach after the move to finish the install on the front suspension. Ron Burch (below left) and Sam (right), worked to bolt up the front suspension to the front of the cabin body, and test for alignment and proper fitment. The Samson crew then went back to prep the wings for paint at the Prineville hangar, while Composite Approach continued to do more work on the body of this next generation transportation vehicle.
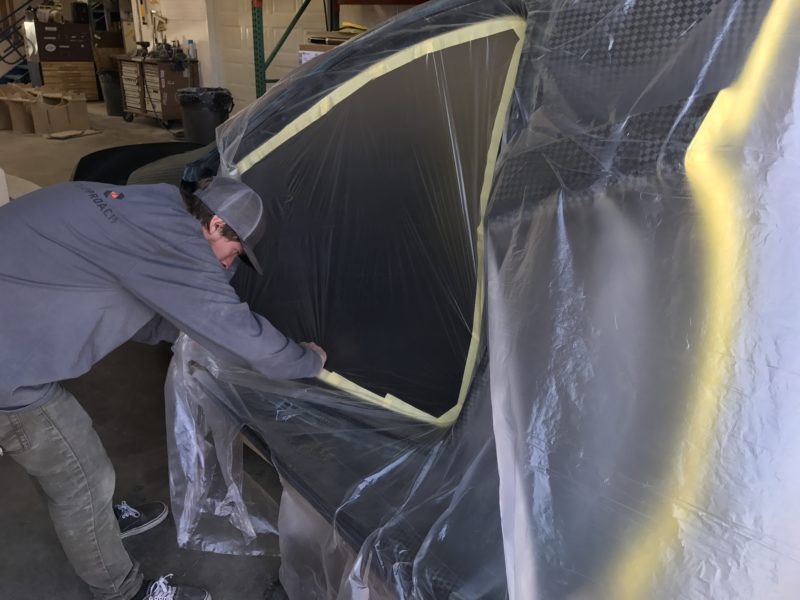
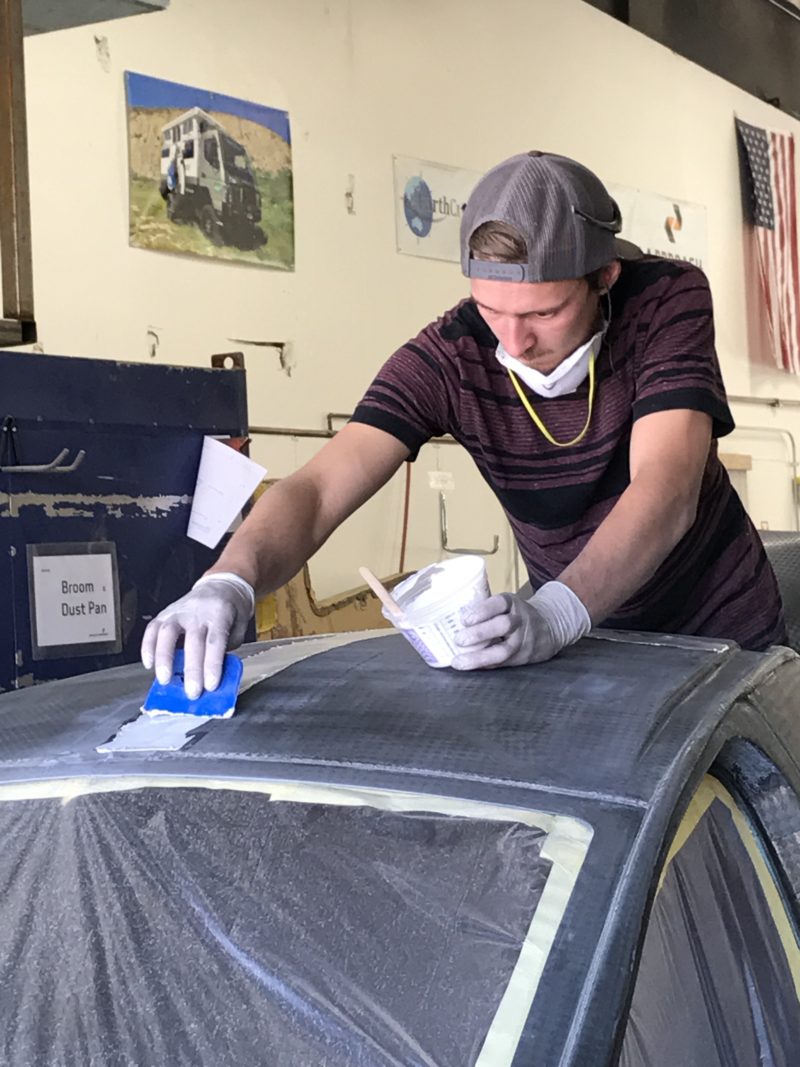
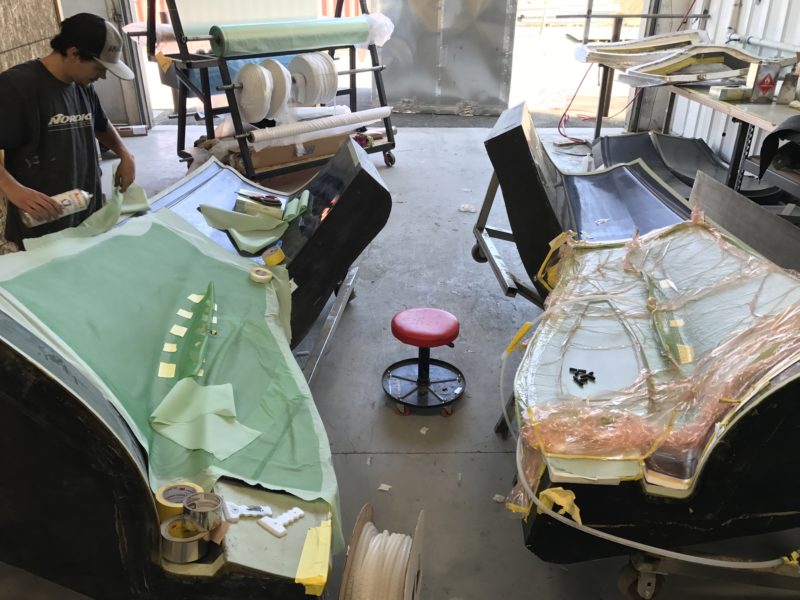
Part of that work was going over the body to sand it, fill any imperfections or pits in the carbon fiber shell exterior, and get it ready for painting. The first thing was to seal off the interior, as we had just applied the acoustic sealant to the cabin interior and wanted it kept clean. The openings were masked off, and below that you can see the first portion of the body work being done. The body filler being used is very light weight, and although they spread it on thickly in some areas, almost all of it is sanded off in the final finish steps.
While the body was prepped for paint, the cabin doors were being fabricated. Nathan (below) is cutting the dry cloth in preparation for doing a resin infusion to form the door. The doors are being made in the cabin body side molds to re-use the molds for that dual purpose. Unlike pre-preg (pre-impregnated carbon cloth having resin already in it), resin infusion is accomplished using dry cloth, with thinner resin that flows better, and a layer that helps the resin to flow through the cloth from an interior starting point to the exterior collection point.
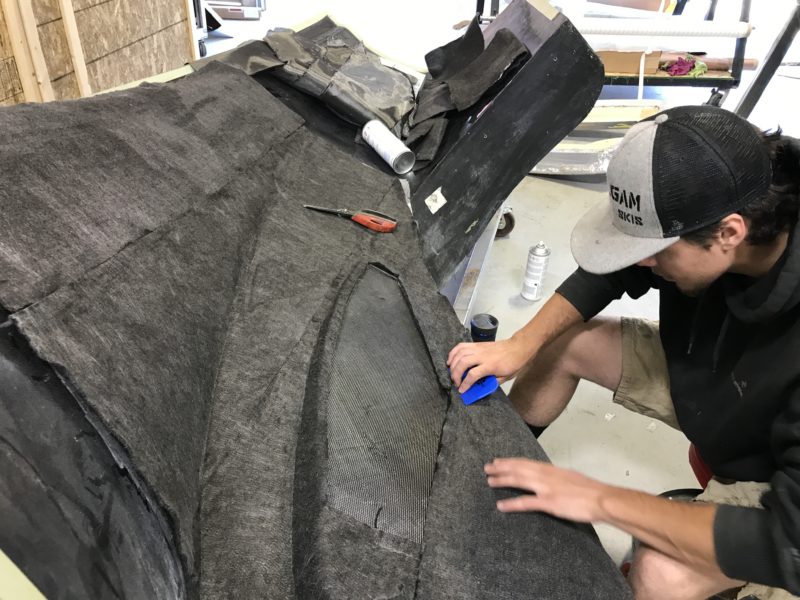
You can see the bagged part on the right side of the image below that has already had the air sucked out of it. The vacuum created is used to pull the resin into and through the carbon cloth, from the middle out to the outsides of the part. On the left, the carbon is being covered by the cheese cloth-like material that allows that resin to flow easily even under the bag cover being tightly pulled to the surface of the mold. This is called resin infusion, and allowed us to incorporate some of the new materials that we have been developing and researching to improve the durability and cost-effectiveness of carbon fiber parts production. We will post a video or two on Facebook Monday and Tuesday of next week that go over this process a bit, and then a time lapse that shows the infusion process. You can watch the videos by clicking on the Facebook icon at the top of the Samson web site on those two days or any time after. You don’t have to have a Facebook account to view that, just click the link to go there.
Thanks for checking in on us!