
Big week last week! The left wing was completed, and this is how it went:
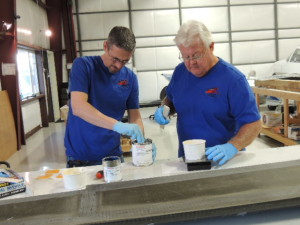
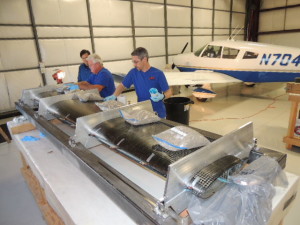
We mounted the completed flap on the main wing, and double checked that the movement was still within spec. Then we took off the aileron and flap from the main wing, put it in the wing jig, and started prepping for bonding in the top skin. We ran the conduit and electrical wire through the wing, and bonded the conduit (small pipe) in place so it won’t jiggle around in flight. All surfaces to be bonded had to be freshened by sanding and cleaning. When all was lightly sanded, cleaned, and positioned, we started the bonding process. First was mixing sufficient adhesive. The adhesive, once mixed, starts the clock ticking, as it will become hard in just over an hour. There is no wasted time from that point forward. We had two people mixing to minimize the time involved with even that portion of the work (below):
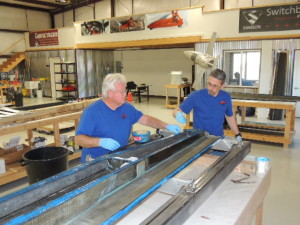
The next thing was placing a consistent layer of the adhesive on both the top and bottom skin, and the top of the main spar. We had previously cut small squeegees to fit the different widths, and were able to spread the adhesive over all areas to be bonded. This takes patience mostly, as you want a consistent thickness, even if the clock is ticking. We had already placed bond rods (small carbon rods) on the bonding surfaces so that once the top and bottom skins were pressed together, and a minimum thickness of the adhesive would still remain.
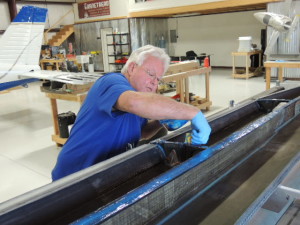
Once the adhesive was spread, we were able to lift and place the top skin onto the lower wing assembly. This was an exciting moment for us, and we took video which you can see on our Facebook and Youtube site. We couldn’t slow down at this point, so moved directly to coating the upper spar bracket with adhesive, shown below. Facebook link to video: https://www.facebook.com/SamsonMotorworks/videos/vb.117146624974687/1028398903849450/?type=2&theater

After coating, the bracket was slid onto the upper spar and upper skin. It has to align perfectly with the lower spar bracket, as there is a connecting pin which slides through both brackets.

The jig was used to slide a temporary pin through both brackets while the adhesive cured. This keeps the brackets aligned and positioned until we are ready to bolt up the brackets to the wing. See below.

Then we were able to add the top jig pieces, which press down on the top skin to keep it in correct shape while the adhesive hardens, or cures. Cleanup of the extra adhesive is done while also checking all areas for correct contact and that there is sufficient adhesive in every joint.
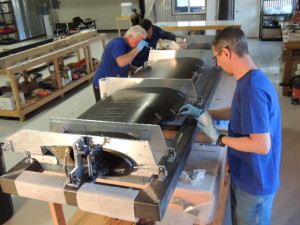
One of the last steps was placing sand bag weights into place to ensure the top skin was being held against the bottom skin and the main spar.
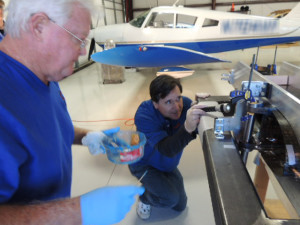
As with any manufacturing, we have a quality control step. Before we leave the assembly to cure, we have another pair of eyes look over the work carefully, and fix anything that needs touching up. Our builders, Ron Burch and son Brent Burch, are both very detail oriented and experienced, which meant only small corrections were needed. Sam was our QC for the day, and was very happy with the work (see below).
Nice job team!!!!