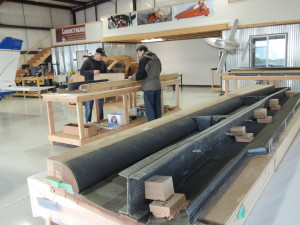
The wing parts and lower wing molds (used to hold the parts in proper shape) were unloaded at the Prineville facility with the help of Composite Approach staff. The molds are very heavy, being of solid wood. The table shown was leveled with the use of surveying equipment to ensure it was dead flat, and that it would not warp the molds in the slightest. It was then glued in place on the floor to guarantee it would not be moved from that position.
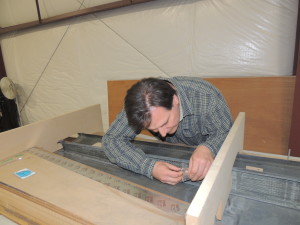
Work begins, above, as we lay out and measure the pieces to double check the locations, bond gaps, and relative positions of the parts. The bond material is a Hysol 2-part mixture that bonds so well that it would not allow re-positioning, so everything has to be perfect the first time. When we get into production and have the Builder Assist line going, we will have what are called ‘fixtures’ that will hold all of the pieces where they should be, speeding up this process tremendously. The first time, however, we do it the slow way.
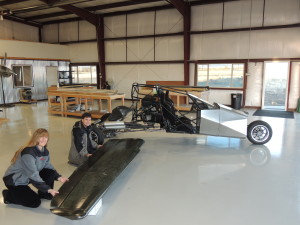
Sam and Martha are holding the right wing in place, along with flaps (which slow the aircraft down) and ailerons (which bank the airplane left and right). Behind them is the ground prototype to show relative size of the body. The wing position is approximately where it would be on the Switchblade when the wing is extended. This is to give you an idea of what the vehicle would look like when the wings are in flight mode, and the relative scale of the wings in real-life. Now just imagine the same wings on the other side, and you can get an idea of how much wing is available in this type of vehicle.
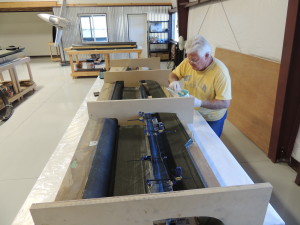
Ron Burch is working on the spars. Both auxiliary and main spars need to be bonded together prior to installation in the wing. The Hysol bonding material, once mixed, must be spread and the parts located in a short amount of time or the Hysol will harden. The clock is ticking! Ron mixed just the right amount of Hysol, and spread it quickly, so he had time to go back and tidy up the top of the spars to make less work later sanding down extra Hysol.

Sam checking out hardware for the wing
The next bit of work is to locate, drill holes for, and mount, the aileron actuator hinge bracket on the side of the spar. This bracket holds the rotating pieces that cause the ailerons to move. It is easiest to mount this bracket prior to the spar being installed due to the lack of space in the wing for a drill to operate. Sam, above, is looking over the bracket location to ensure nothing else needs to be done first.


