SECOND TAIL BOOM – May 10, 2018
After our extremely successful load testing on the Switchblade tail boom last month, we began building the second tail boom. We will use the second tail boom for flight testing. The metal components were readied for attaching, side rails were drilled, and the boom match drilled to the rails. In short, we are ready to bond the second tail together, and Ron Burch is shown above locating the vertical ribs for the bonding process.
THE TAIL COMES TOGETHER
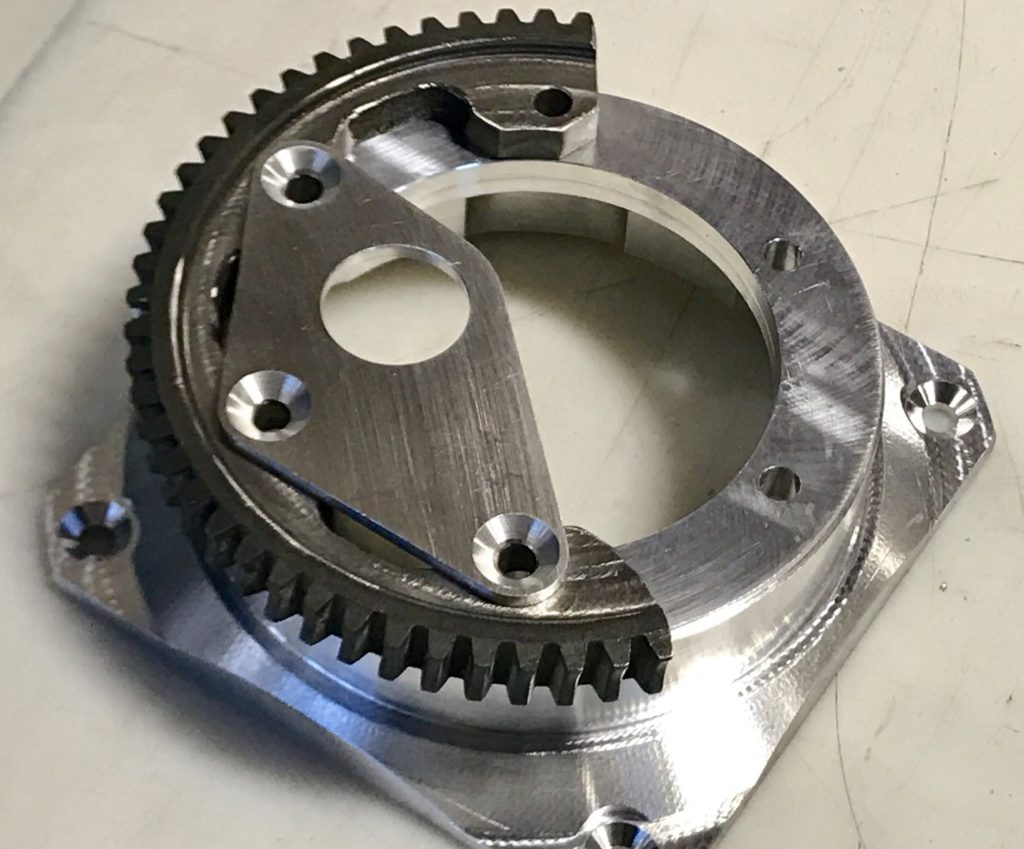
With all of the tail metal parts in hand, the assembly of the tail went into high gear. The parts in the image above are just a sample of what is going into the tail to get the motion and sturdiness required of the Switchblade tail assembly built. The outstanding machinists at Risse Racing of Redmond, and Aloha CNC, also of Redmond, pitched in to produce beautiful parts for the tail and transmission. We really appreciate their quality touch and willingness to work extra hours to help us make our goal of first flight.
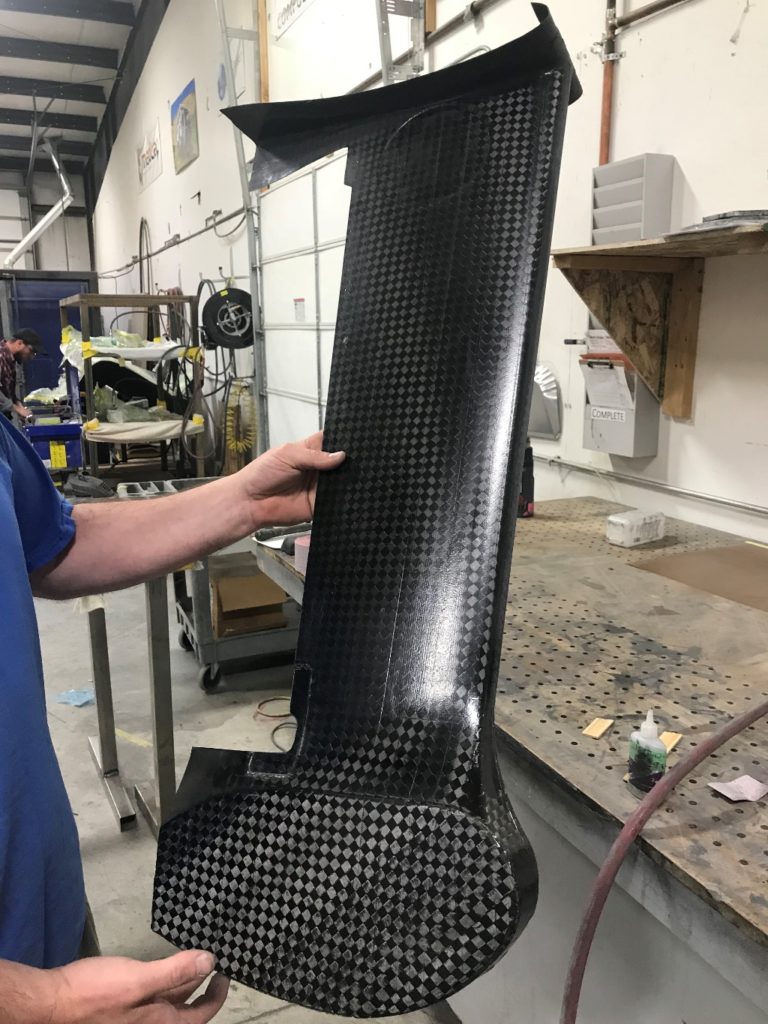
Composite Approach came to the rescue when it was found we were missing some of the tail carbon parts. No fault of Composite Universal Group, who provided all of the tail parts that we asked for. Just a miss-communication on what was needed. The part in the image below is one of the vertical tail components produced by Composite Approach. This is an inner skin of the left vertical tail, and this component will match up to the side of the tail boom on the flat face at the lower end of the part (at the bottom of this photo).
PREPARING FOR ASSEMBLY OF THE SWITCHBLADE TAIL
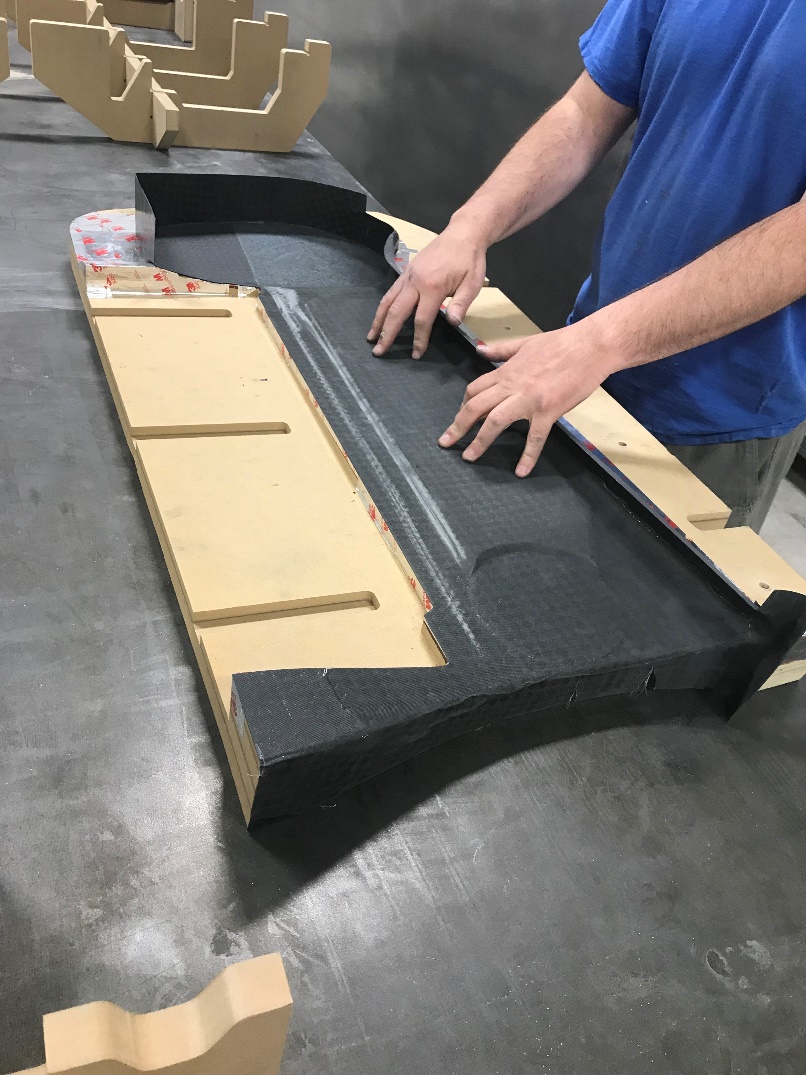
This same part is shown in the image below, placed in what is called a closing jig. A jig is structure used to hold pieces or a part in correct location to be bonded or drilled or worked on. Since the tail has so many moving parts with hinges and pins to lock the tail in place, Composite Approach lead builder Jason Hoeft and team decided to make closing jig to hold the tail components in place while the assembly is done, to ensure that the hinges and bolt holes all line up. These were made on a high precision machine – a computer controlled milling machine called a CNC.
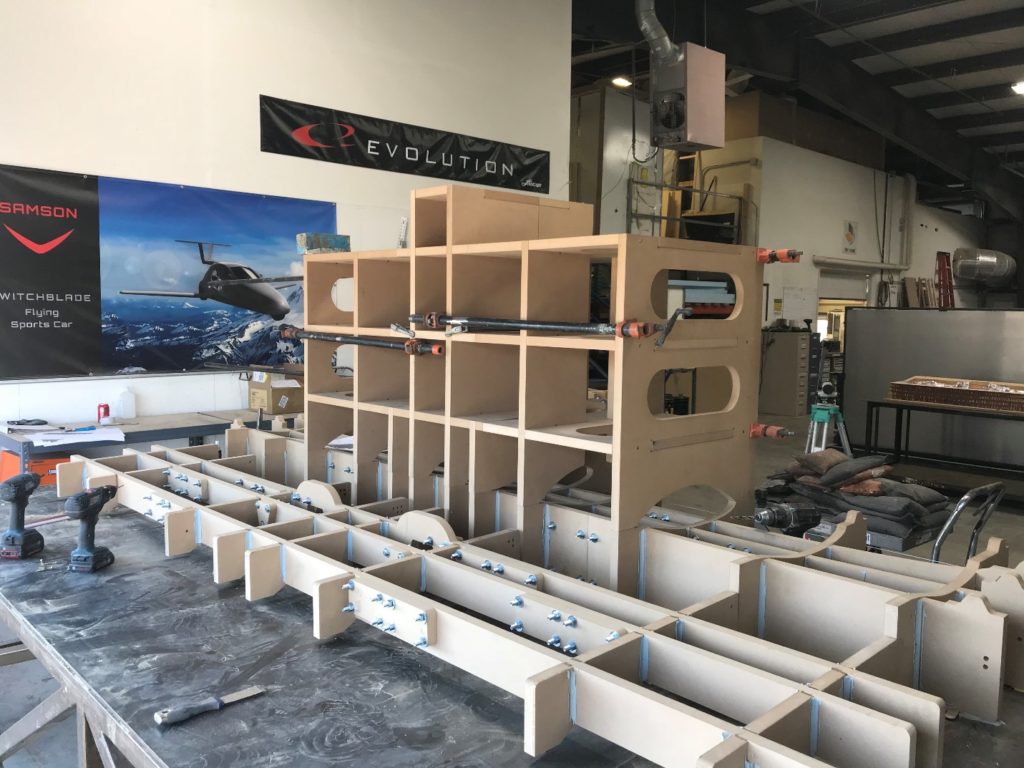
Individual groups of parts have their own closing jig, but the overall tail is also going into an overall assembly jig to place the major assemblies in correct position relative to one another. Below is shown the overall assembly jig and horizontal tail jig on the bottom. The tail is being built upside down, as that was the easiest way to accomplish this assembly. The closing jig for the horizontal is laid out on the large table, and the jig portions coming up from the middle of that will hold the vertical tail pieces in position. We mentioned in a Facebook post that it reminded Sam of a high-rise construction, and that is what it is now nicknamed. Soon the high-rise will be filled with tail components, and then the tail will be just about completed!
The eNewsletter is the best way to get breaking news about the Switchblade. To receive this, please sign up on the newsletter page. You can unsubscribe at any time.


