

The lower wing spar bracket (metal piece that takes loads from the main wing beam or spar) was bonded into place (above), and it went much more smoothly than the left wing. The parts were coated with Hysol bonding agent, and then the spar bracket was slid into place. The high-strength shear bolts were positioned and tightened to specification.
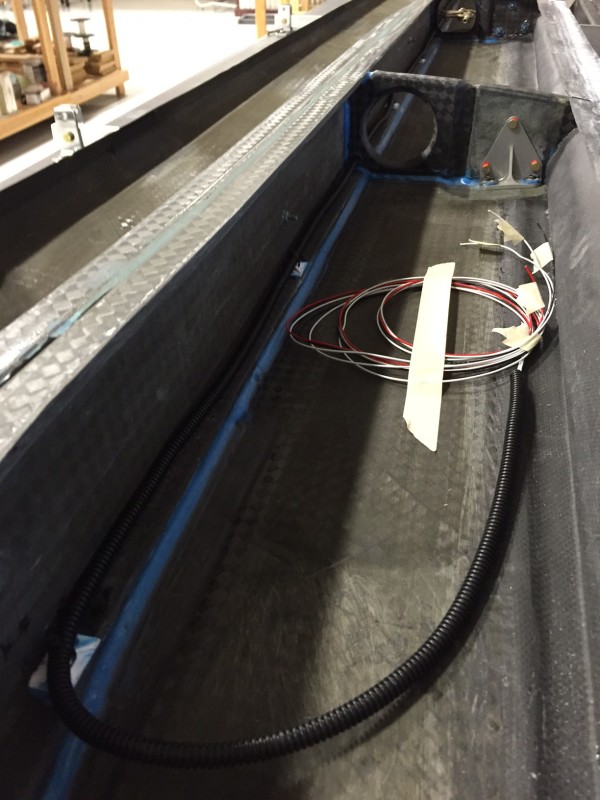
Above, the aileron bell crank (mechanism that moves the aileron) was finished and bolted into place. Below, the wiring conduit was fastened into place, and the wire run from wing tip to wing root (body side). Each wire is tagged at each end for identification.
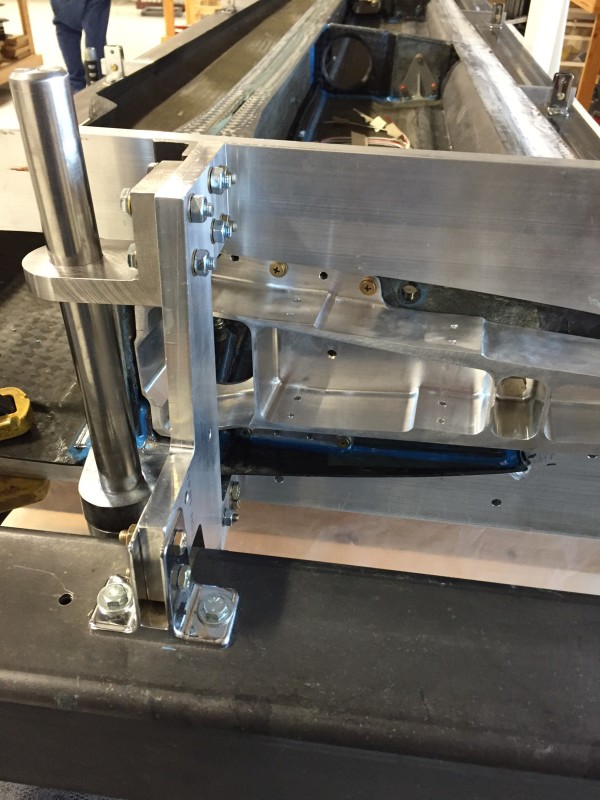
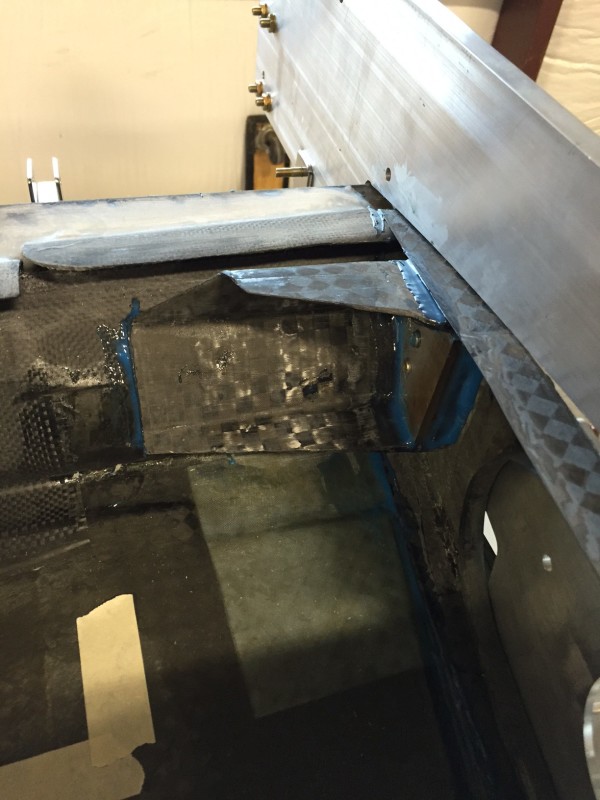
Then the root rib (rib closest to the body) was bonded into place (above), complete with nut plates. Using the nut plates, the wing hinge beam (triangular aluminum beam that acts as the wing hinge) was fastened into position, and used to keep the root rib exactly where it needed to be during curing. Below, the piece we call the ‘carbon cup’ was bonded to the lower wing skin. We put an additional wet layup of carbon cloth to tie the ‘cup’ to the lower skin (not shown).
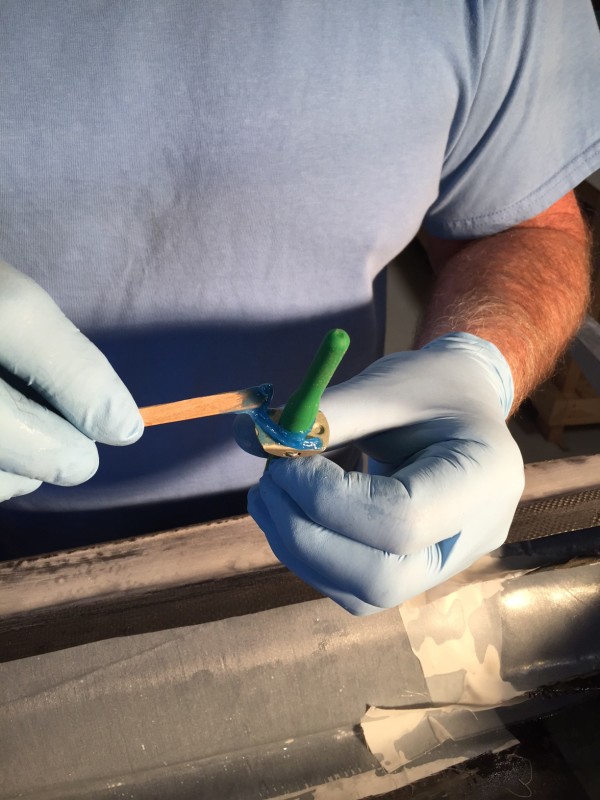
Below, Ron Burch is bonding in larger nut plates that connect the ‘carbon cup’ to the hinge beam. The green plastic pieces keep the glue out of the hole the bolts eventually will go through.
We have two small tasks to do before we prep the top wing skin for bonding to the lower wing assembly, and that will finish the right wing. Check back soon, as we will have a finished right wing, and we may have images of the wing swing mechanism as well!