The next steps completed were to bond in the nut plates, which are like nuts for bolts, but glued in place. These went in twelve locations, and a portion of them are shown above. The bonding is done using the two-part adhesive we use for bonding composite parts together, and there is an orange rubber spacer to keep the adhesive out of the hole while curing. The spacers get pulled out before further assembly is done.
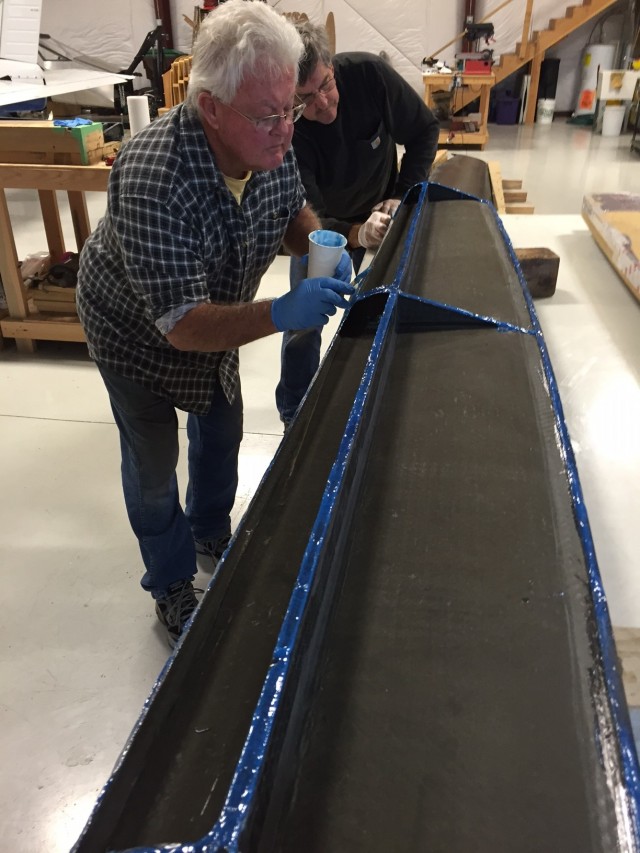
We then prepped the flap skins for bonding, and began the process of bonding the top flap skin on. Ron Burch and Dick Rohaly are shown in the images below applying adhesive to both top and bottom skins prior to placing the skins together.
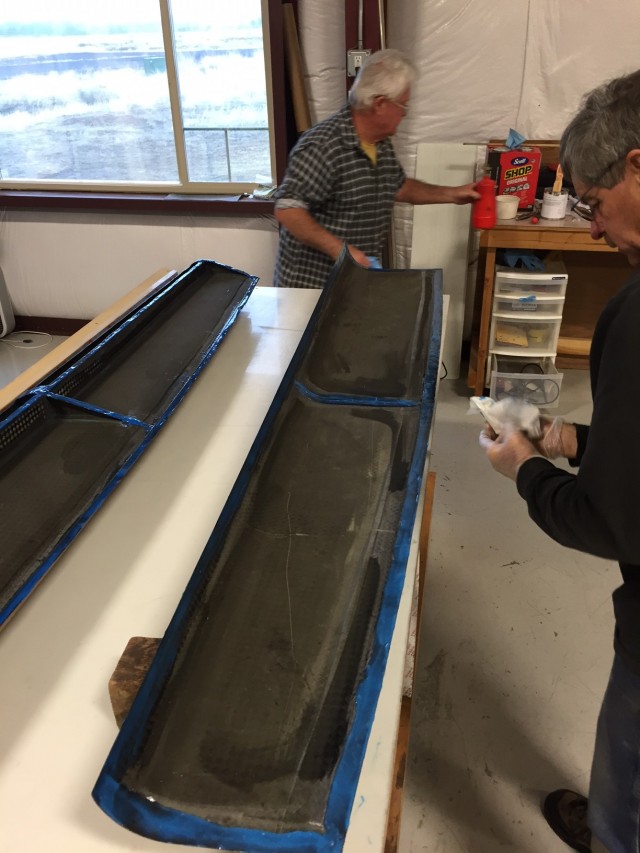
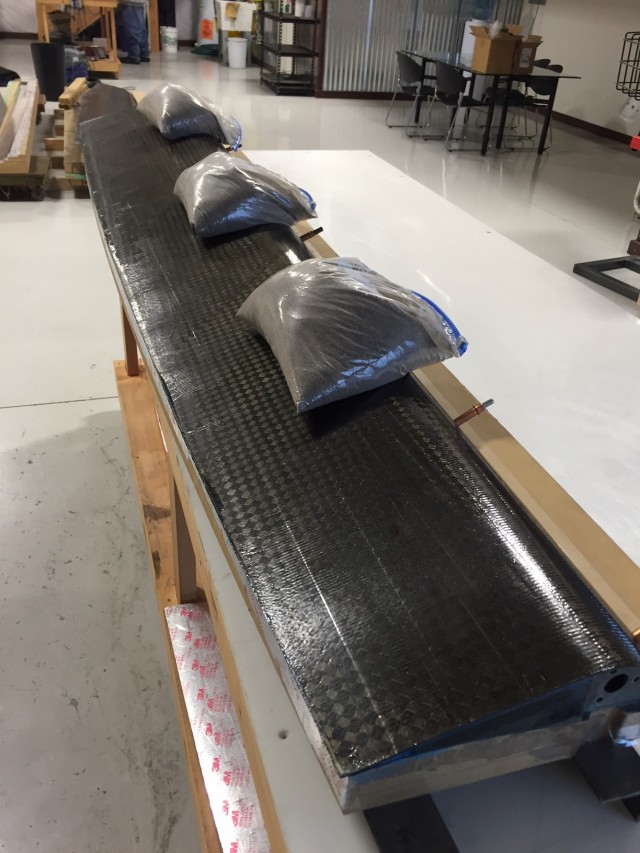
We then carefully put the two sides together used cleco temporary fasteners along the leading (front) edge of the wing to maintain position of the skins, and put weights on top to ensure contact of the top skin to bottom skin and ribs. The finished flap is shown in the image below, still being held by the weights while the adhesive cures.
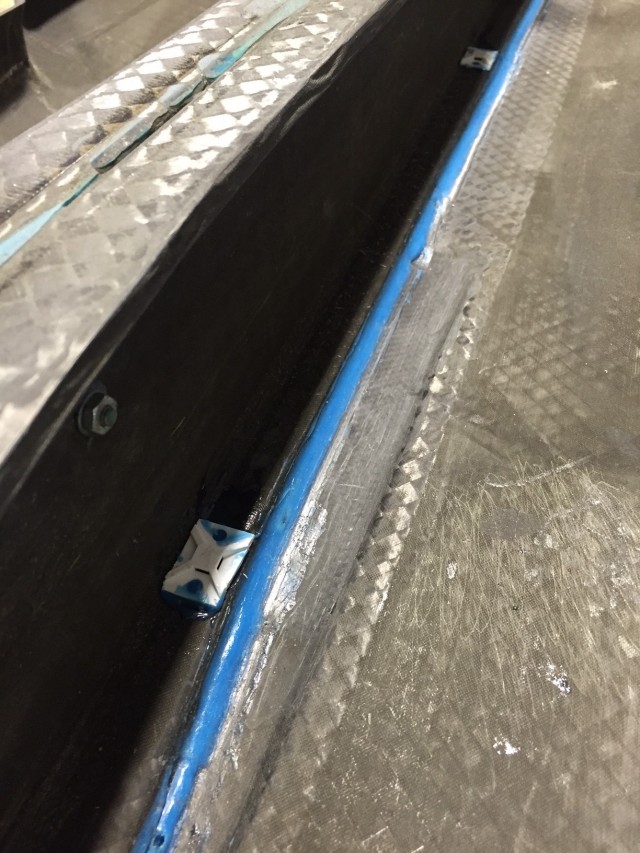
We had some extra adhesive, so utilized it to bond in the retainers for the electrical conduit in the wing. Conduit is like a small pipe that protects the wires within the wing. We only have the navigation lights and strobes in the wing tips, so our wiring requirement here is very small. Below you can see the white retainers spaced along the wing spar in the main wing.
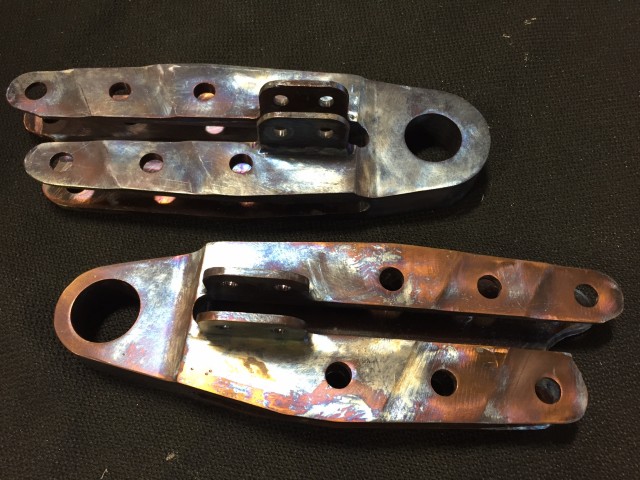
The spar brackets had earlier been modified to fit in the wing, so we had shipped them out for heat treating and just received them back again. The heat treating discolors the high strength steel, giving it a more organic look. They are extremely hard and ready to be bonded into the wing, see image below.